|

|
|

|
|
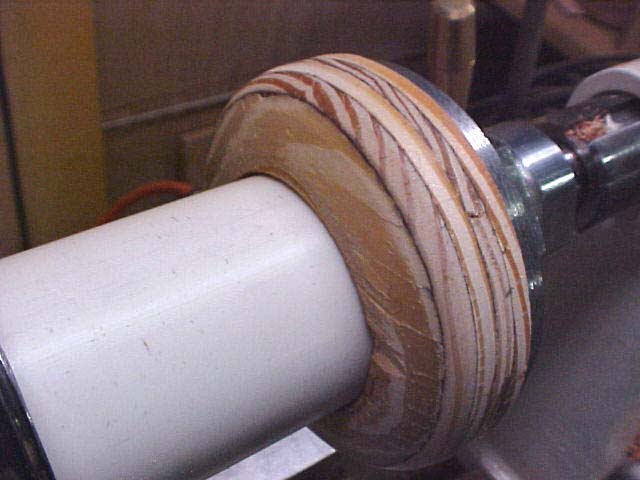
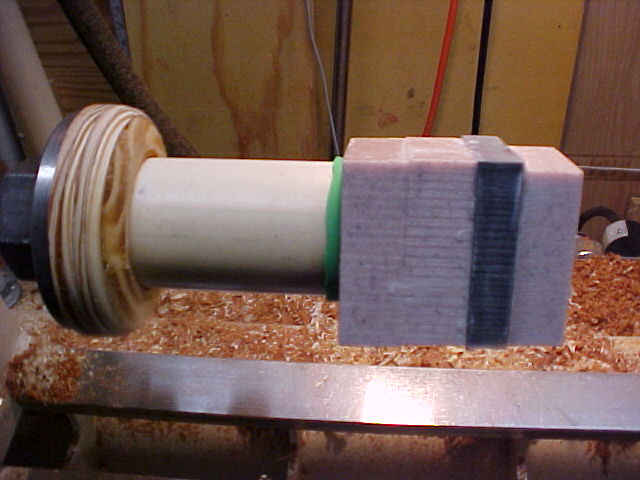
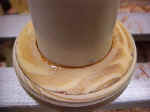
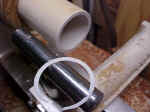
The tailstock is advanced allowing the tubing to be bottomed in the groove and clamped with sufficient force while the glue cures. |
I leave it all locked up until the epoxy cures fully. Without the tailstock piece, it would be done on a bench and the
PVC would just be glued into the groove vertically with a weight on top. |
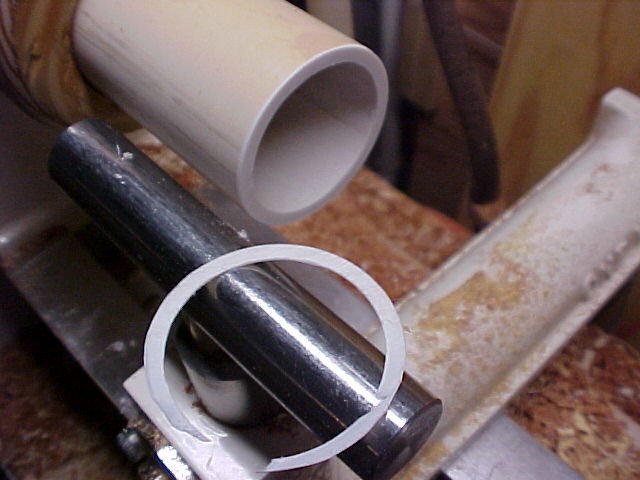
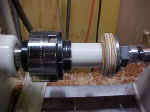
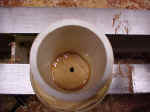
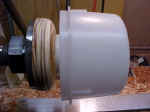
After the epoxy has cured, the chuck on the headstock is loosened and the tailstock is retracted. |
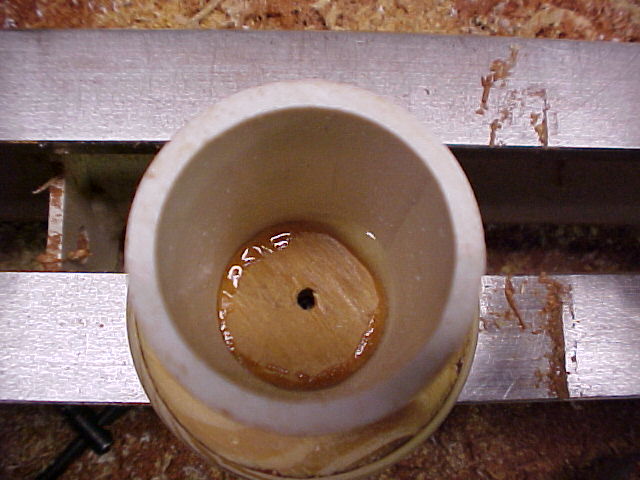
The vacuum chuck is unthreaded from the tailstock. A look at the glue coverage inside. |
| |
|
|
|
|
|

|
|
|
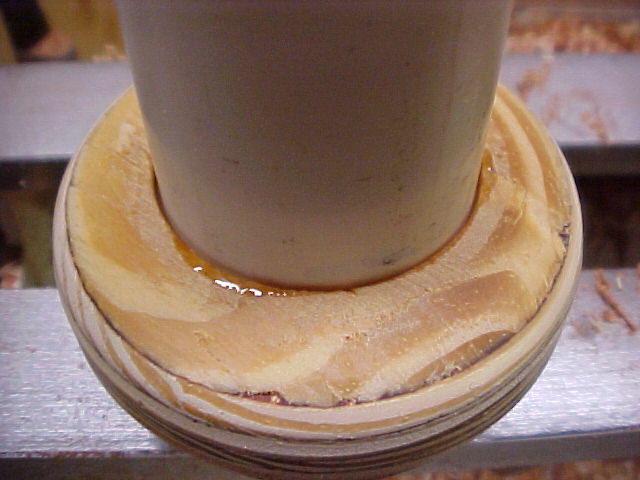
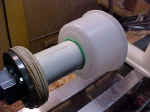
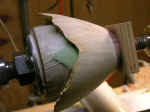
There is enough epoxy flow to bond the PVC to the wood well and provide a leak free seal. |
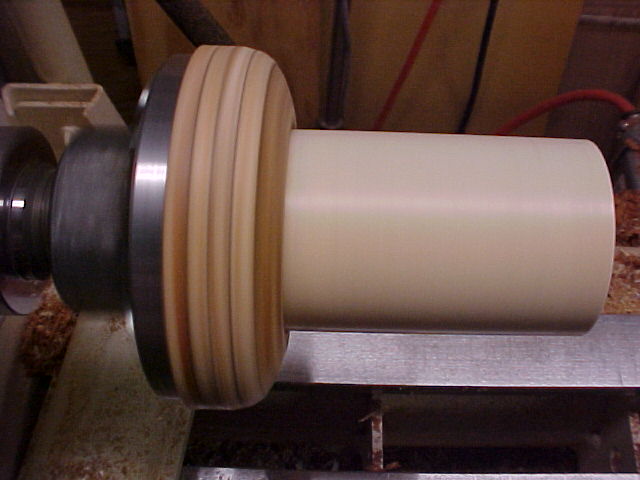
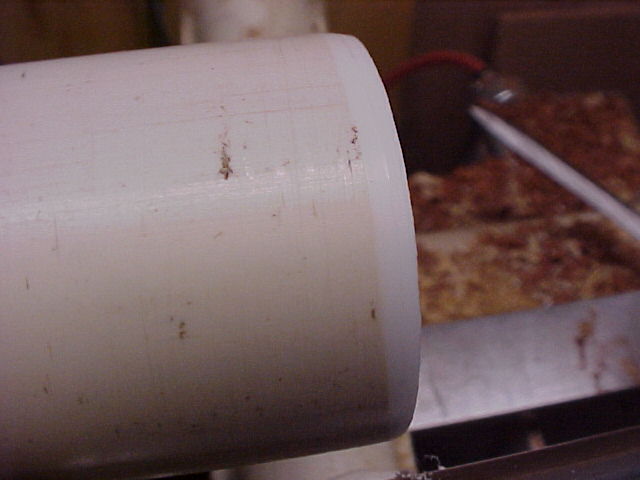
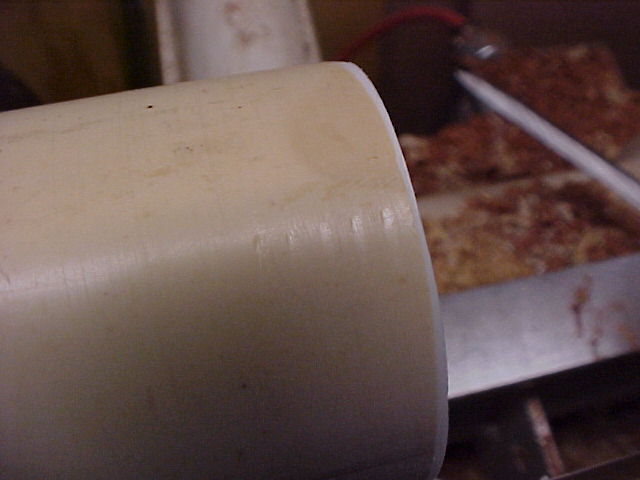
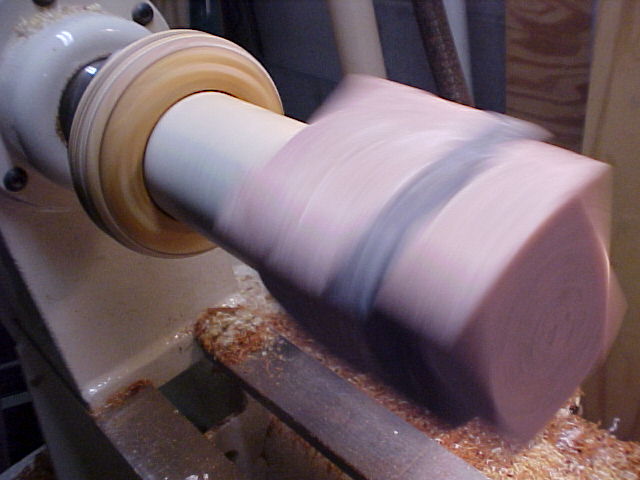
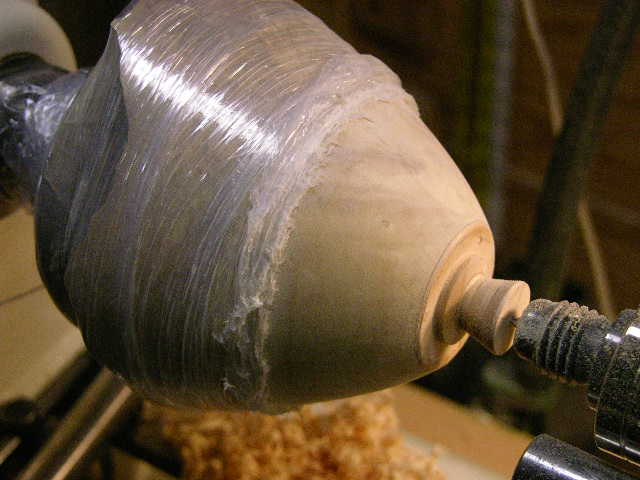
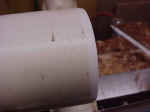
Mounted to the headstock and running, it shows little "out of true" at the working end. |
The end is scraped with the edge of a skew and here is the max scraping. |
And here is the minimum. I can't say what the out of round was but its true now. |
| |
|
|
|
|
|

|

|
|
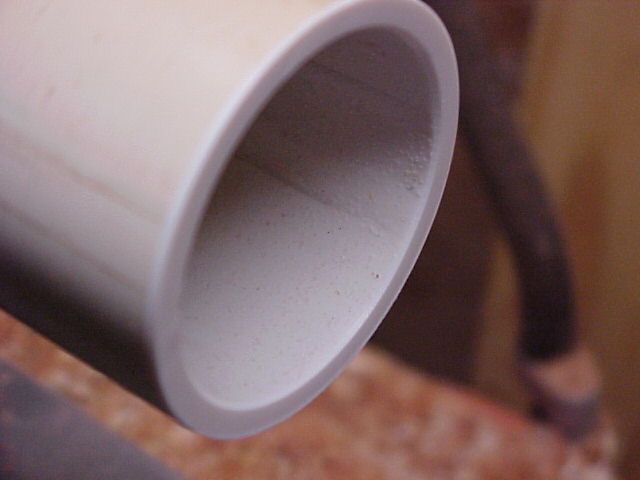
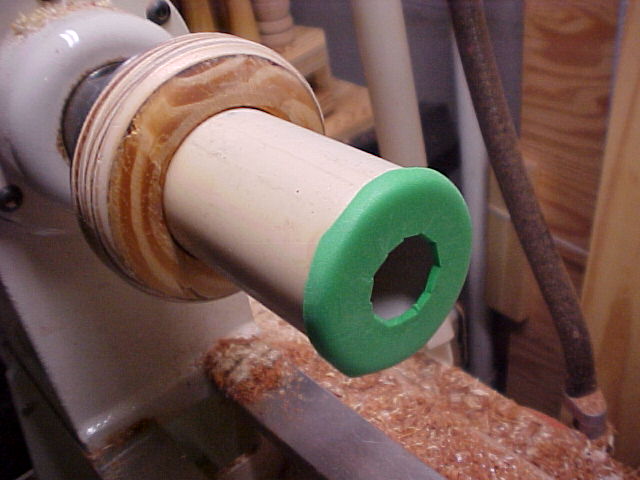
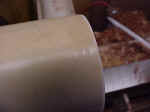
A skew is used to cut a square and flat face on the end of the
PVC tube. |
The inside and outside corners are broken by scraping with the edge of a skew. |
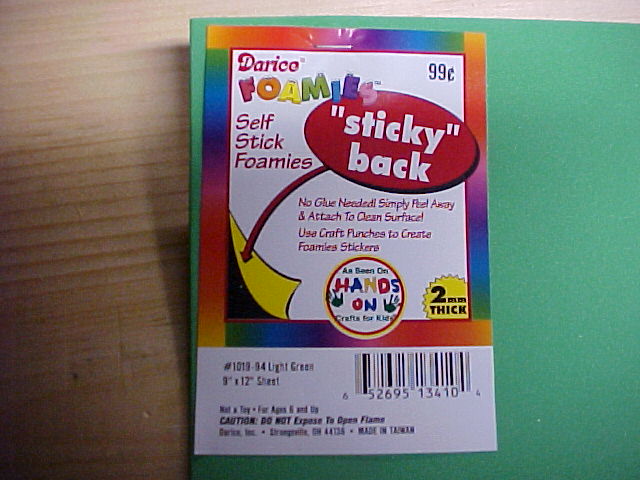
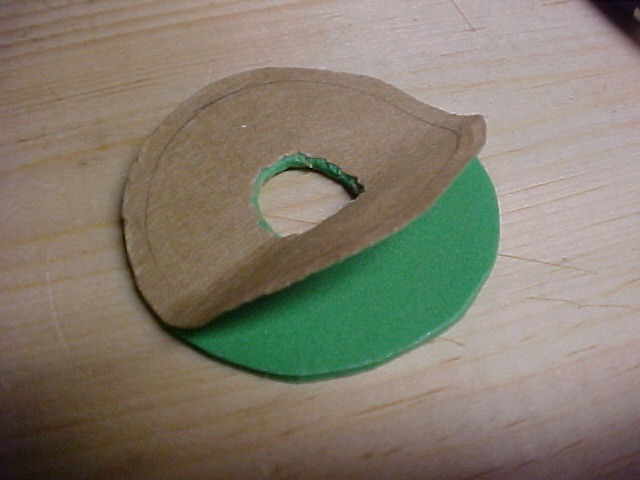
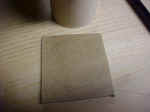
Self stick, hobby foam is used for the compressive seal on the working end. |
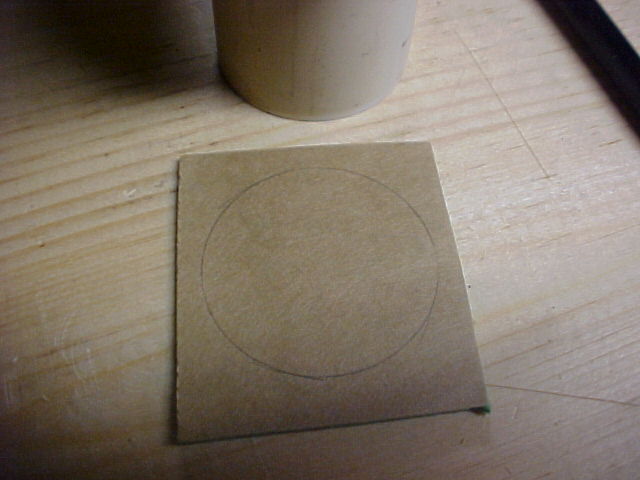
A piece of foam is cut and the diameter of the tube is traced on the backing. |
| |
|
|
|
|
|

|

|

|
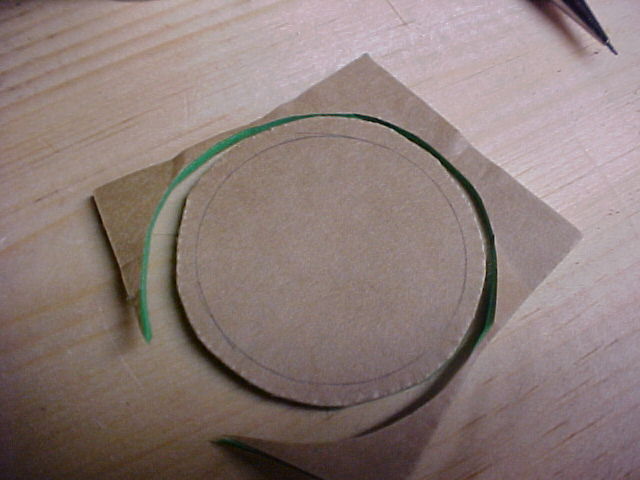
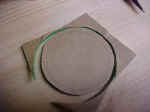
The foam is trimmed with scissors leaving some excess to "roll over" the edge. |
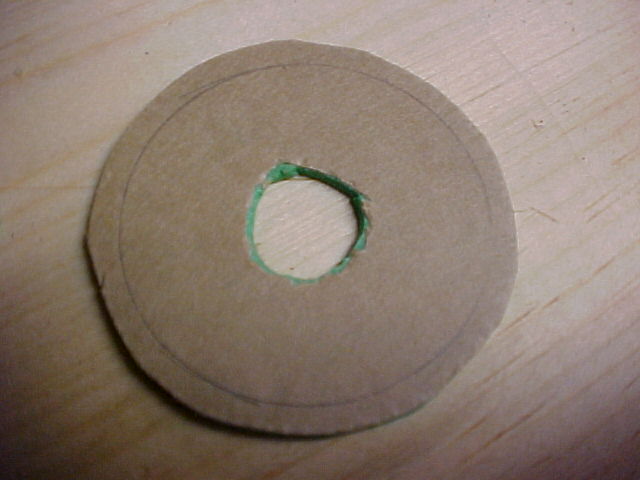
The center hole is cut. The size is unimportant so quite a bit of foam is left on the id. |
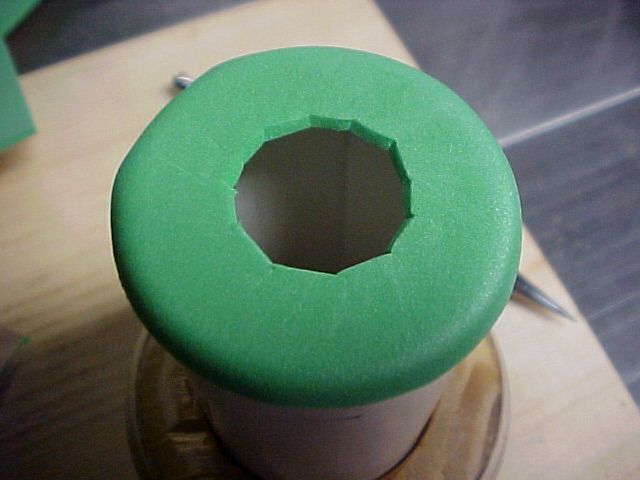
The protective backing is removed. |
The compressive foam is stuck to the end of the vacuum chuck. |
| |
|
|
|
|

|
|
|

|
Okay so it's a real work of art... but will it hold
anything? |
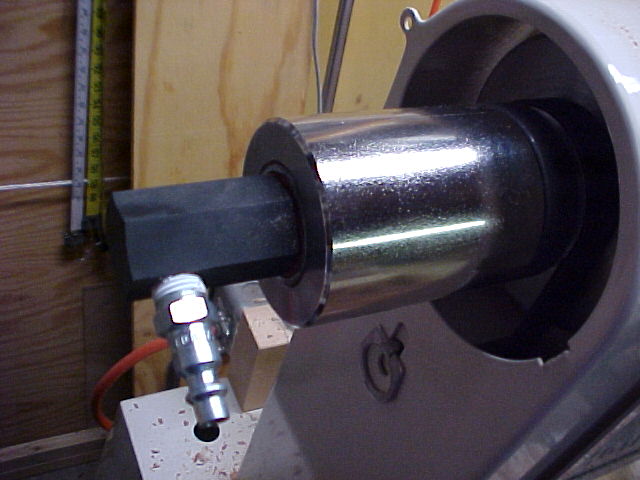
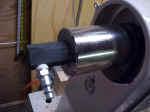
The handwheel is removed from the lathe. |
The vacuum coupling is installed and the vacuum pump hose is attached and the pump is turned on. |
Look Ma, no hands. A handy piece of heavy material. Here I am holding a glue up of Corian pieces. |
| |
|
|
|
|

|
|
|
|
Intentionally held off center, the piece is gradually run up to a higher speed to check the holding power. |
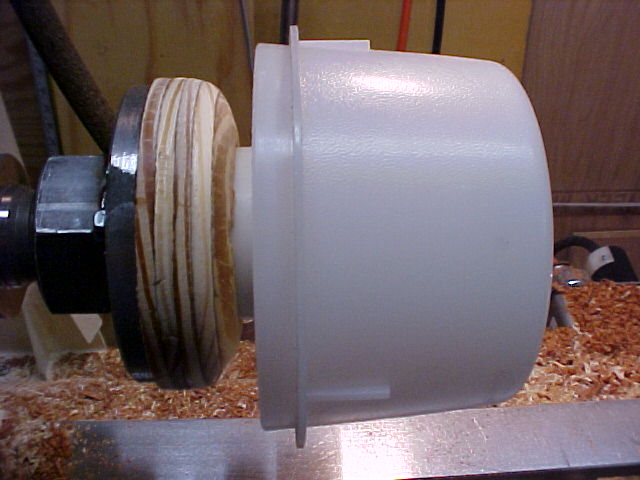
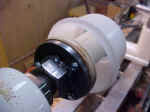
The real reason for the size and length of pipe on this particular chuck is to reach inside items to hold them, such as lidded boxes and hollow vessels. Here a Tupperware bowl is
held to show the concept of reaching down into a vessel to hold it for outside and bottom work. This
type of chuck allows me to
locate and seal on the bottom versus the rim or
inside wall. There are applications where you might want to locate on the rim or inside wall. |
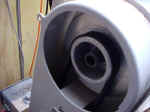
Here is look from the headstock end. Remember, the holding force is a function of the vacuum pulled and the area of the
surface actually under vacuum. Smaller pieces are being held with less force. Do your
vacuum chuck design with the application in mind. You have the capability to create chucks that
won't have sufficient holding power or create chucks that will crush pieces, or anywhere in between. The old IBM motto still applies, "Think". |
This concept of construction offers all kinds of flexibility in holding a variety of turned items, including just plain old flat
surfaces. |
| |
|
|
|
|
|

|
|

|
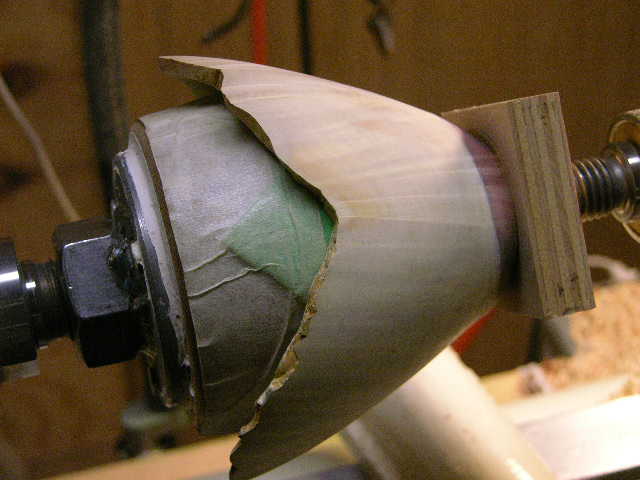
I suggest using the tailstock whenever you can. It provides a measure of safety even if you have sufficient holding force and use a light touch in your cutting. |
I often tape (packing stretch
wrap works nicely without leaving adhesive behind) my piece to the faceplate to provide that extra hold or safety strap should the vacuum force be broken while turning.
This is particularly important after the tailstock has to be removed. If the vacuum is broken, at least your piece doesn't become a projectile. |
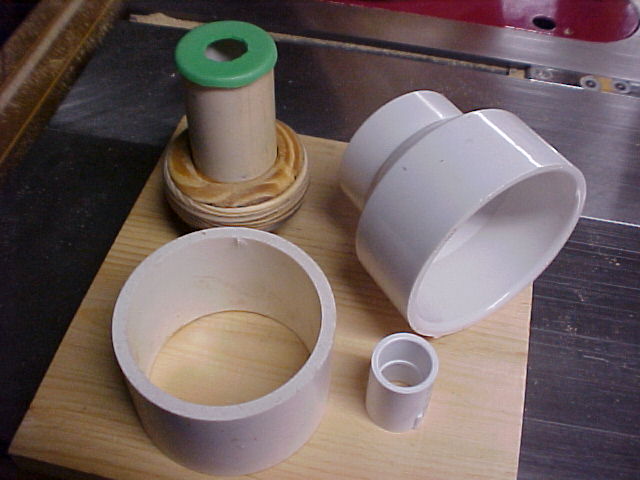
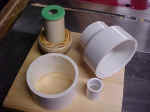
I've used a variety of sizes from small PVC pipe up to 4 inch. Combined with assorted couplings, reducers (used in either direction), or different
assemblies, you should be able to make whatever size and shape you need. Don't forget to use "just wood". It can be shaped inside and outside to be form fitting. The same adhesive
foam can be used. When the foam is worn out. Replace it with new. I cut and trim the wood for various projects making specialty vacuum chucks. When the wood is worn away, I
replace it and start again. |
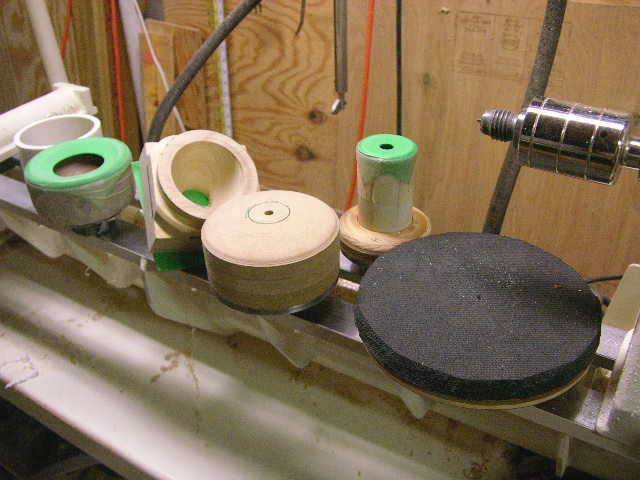
Because this vacuum chuck is so inexpensive and very quickly made, there is
no reason not to have a host of them for your different needs. Create them as you need them tailored to be the best solution for your task at hand. |
| Go to page 1 |
|
|
|
| |
|
|
|
Photos by Kurt Hertzog |
|
|
|